There is a moment every aquarium hobbyist eventually reaches where they want their tank to do more of the work itself. Less dosing, fewer water changes, plants that thrive without a CO2 injection system costing hundreds of rands. That is exactly what the Walstad Method offers — and it delivers, if you set it up correctly from the start.
Diana Walstad, an American biologist, developed this approach and documented it in her book Ecology of the Planted Aquarium. The core idea is simple: use natural soil as your substrate to feed plants directly from the roots, allow the tank to develop its own biological balance, and let the plants do the heavy lifting on water quality. The result is a lush, low-maintenance aquarium that genuinely sustains itself.
What Makes the Walstad Method Different
Most planted aquarium methods rely on inert substrates with nutrients delivered through liquid fertilisers or CO2 injection. The Walstad Method flips this: nutrients live in the substrate itself, delivered directly to plant roots. The result is a closed-loop system — plants pull nutrients from soil, fish waste adds nitrogen, snails and microorganisms break down organic matter, and the plants consume it again. Water changes become minimal once the tank reaches a mature balance.
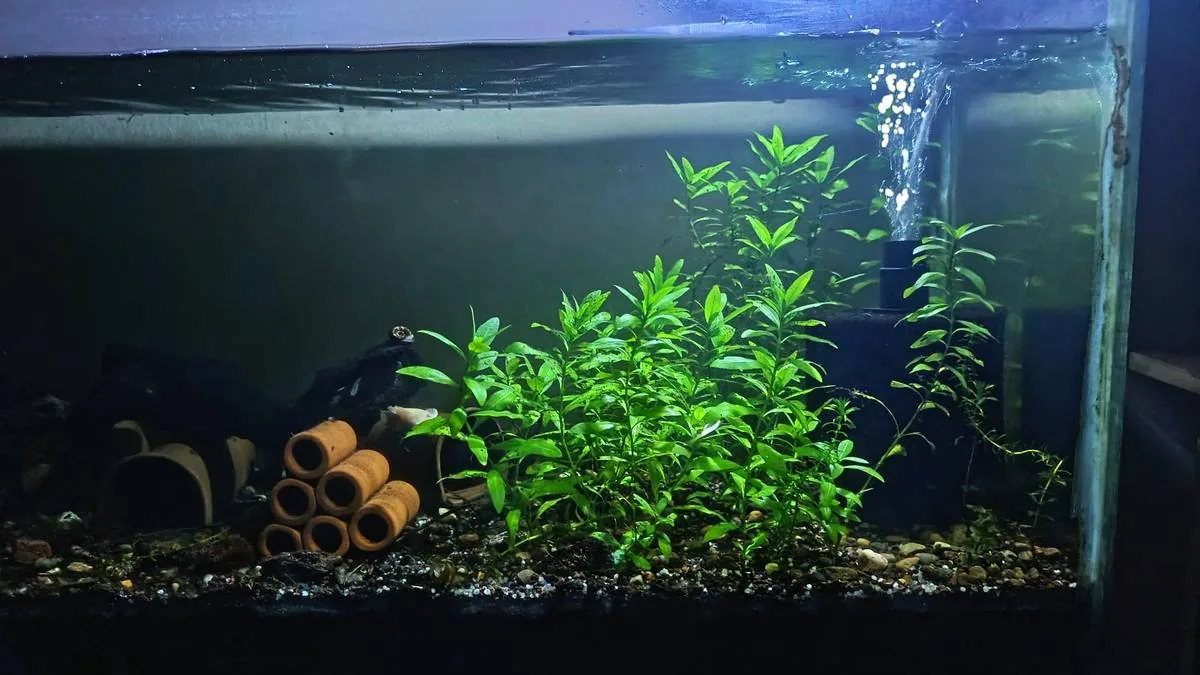
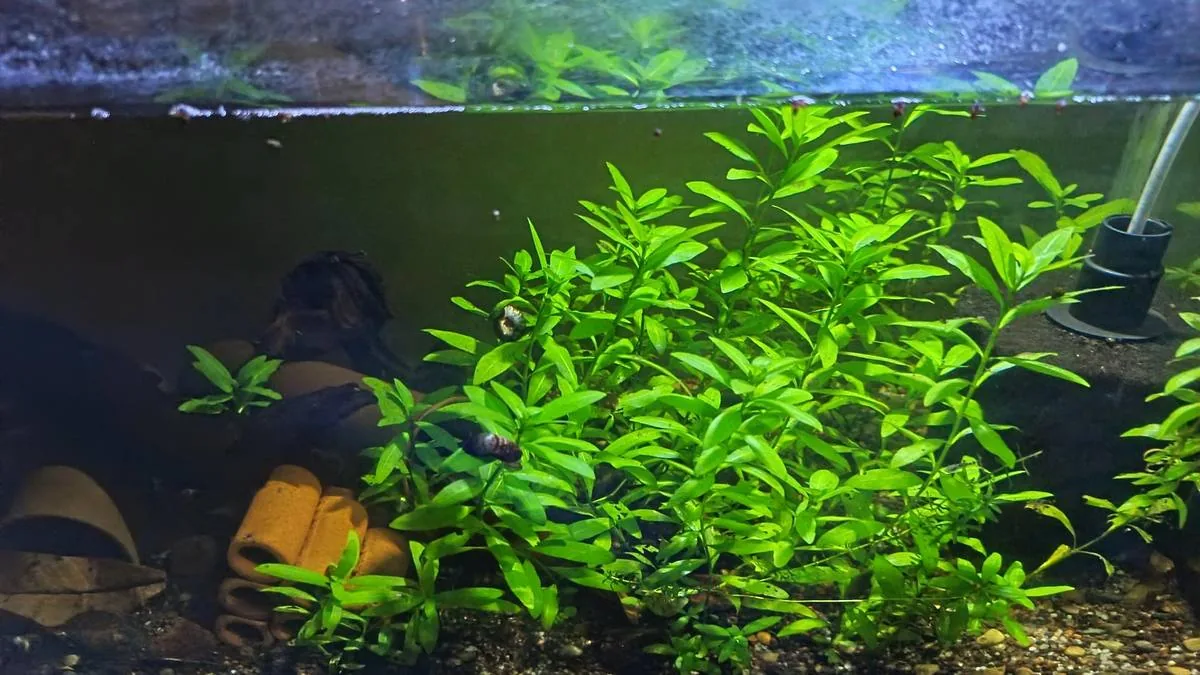
Hygrophila polysperma — one of the best fast-growing plants for a new Walstad setup
The Substrate: The Foundation of Everything
The Walstad substrate is a two-layer system. The bottom layer is organic potting soil — the nutrient engine of the entire setup. The top layer is an inert cap of sand or fine gravel that holds the soil in place, keeps the water column clear, and provides a planting medium. Each layer should be approximately 2.5 to 4cm deep.
Not all potting soil works. You need plain organic potting soil with no added fertiliser pellets, no moisture-retention crystals, and minimal perlite. Look for a basic garden potting mix without slow-release fertiliser beads. Squeeze the bag — it should feel like damp earth, not crunch with beads. Never use soil with added fertiliser pellets in an aquarium — these leach nutrients into the water column at dangerous levels, causing immediate algae blooms and potential ammonia spikes that can kill fish within days.
The soil layer with MTS already present — these snails are a genuine asset in a Walstad tank
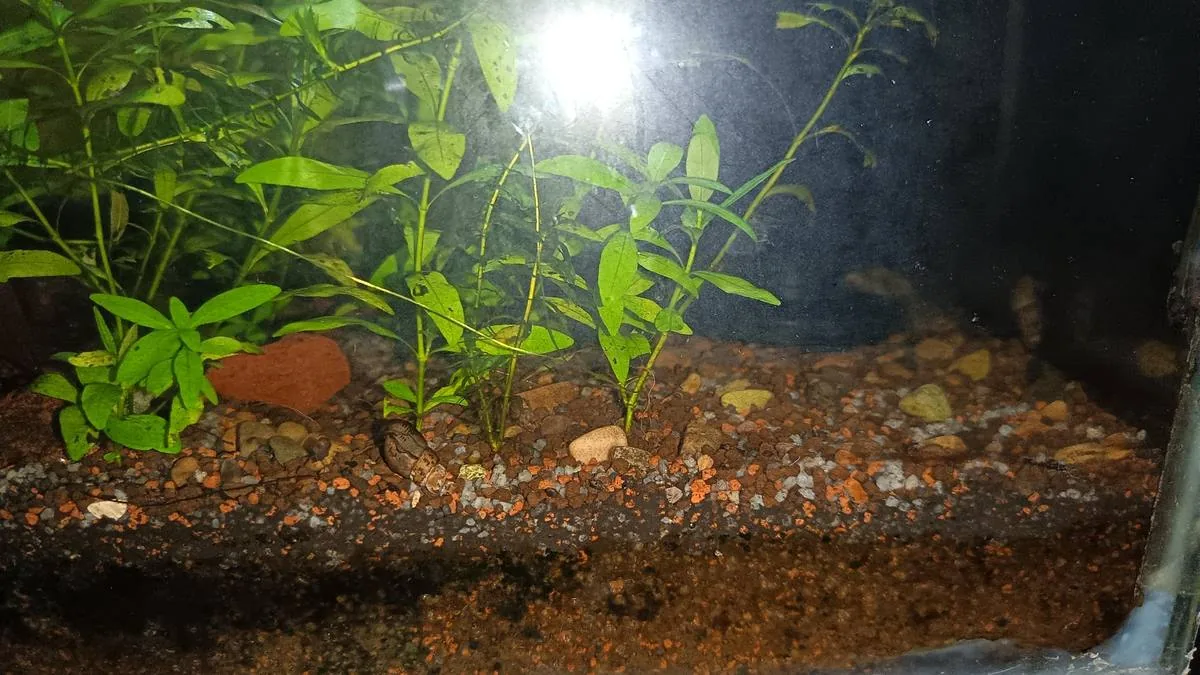
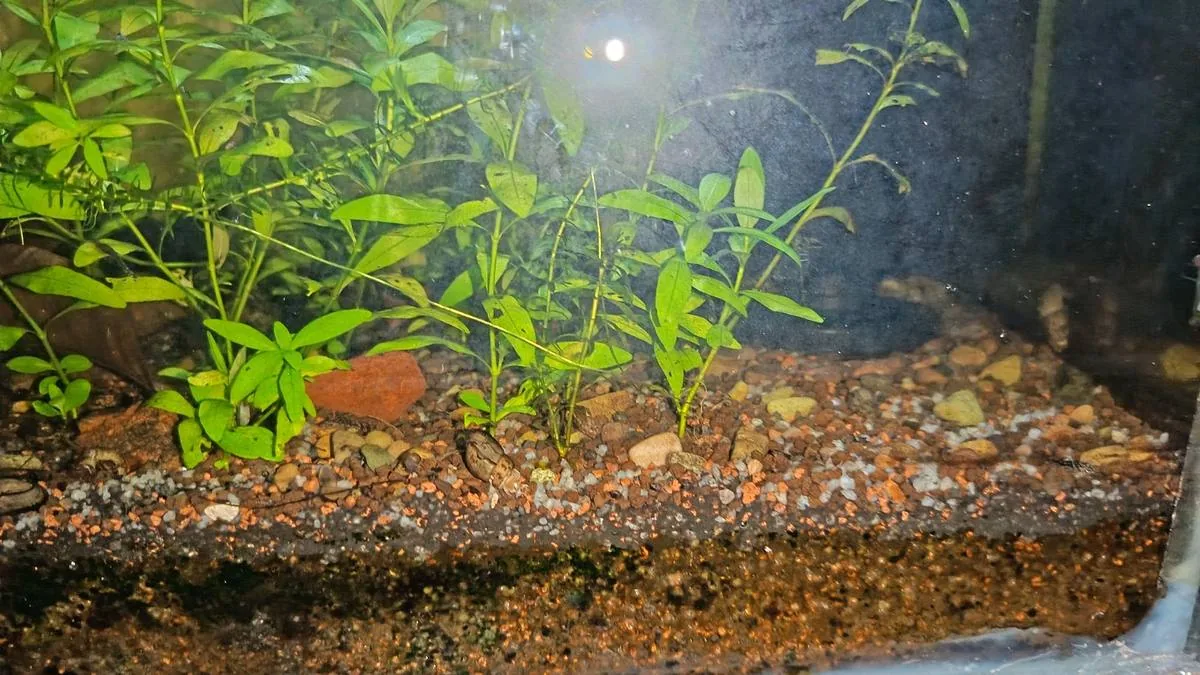
Substrate layers visible from the side — dark soil base, mixed gravel cap
Plants: The More, The Better at Setup
The single biggest mistake in a Walstad setup is under-planting at the start. The soil layer is nutrient-rich and will release those nutrients into the water column regardless of whether plants are there to absorb them. If plants are sparse, algae takes everything the plants are not consuming. Plant heavily from day one. Fill every available space. Fast-growing stem plants are your best friends in the early weeks.
The best plants for a new Walstad tank include hygrophila polysperma — near-indestructible and a powerful early nutrient absorber. Water sprite and hornwort are excellent floating options that pull heavy nutrients from the water column aggressively. Java fern and anubias provide long-term structure tied to driftwood. Vallisneria spreads quickly once established. Duckweed on the surface diffuses light and absorbs enormous quantities of nutrients — manage it carefully as it spreads fast, but the love-hate relationship with duckweed is something almost every Walstad hobbyist knows well.
Lighting for a Walstad Tank
Too much light and the nutrient-rich soil fuels explosive algae growth. Too little and plants cannot photosynthesize effectively enough to consume the nutrients the soil releases. Run 8 hours of moderate light per day on a consistent timer. Avoid the impulse to run lights longer — one of the most common beginner mistakes is keeping a strong light on for 12 hours or more daily, which is a direct invitation for hair algae. For a new setup in the first 6 weeks, drop this to 6 to 7 hours per day while plants establish.
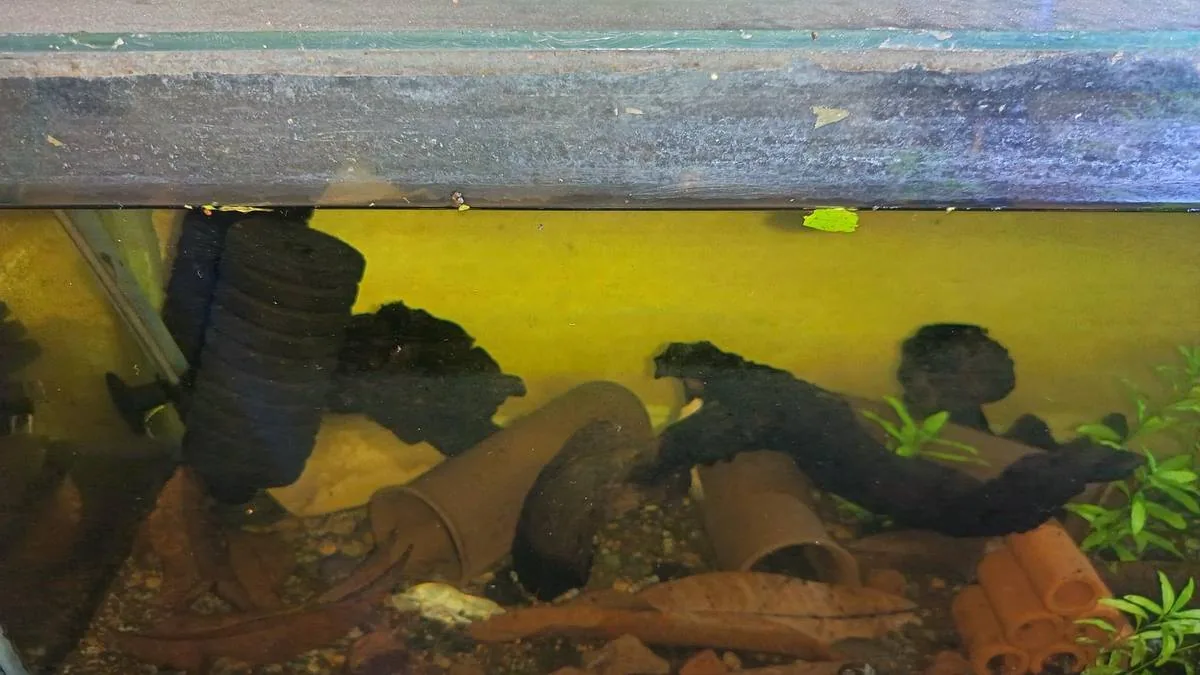
Malaysian Trumpet Snails: The Underrated Asset
Malaysian Trumpet Snails are genuinely underrated in Walstad setups. They burrow through the substrate overnight, aerating the soil layer and preventing the hydrogen sulphide buildup that can crash a tank. Pest snail populations in a Walstad tank are often more asset than problem — the key is not overfeeding, which is what causes populations to explode.
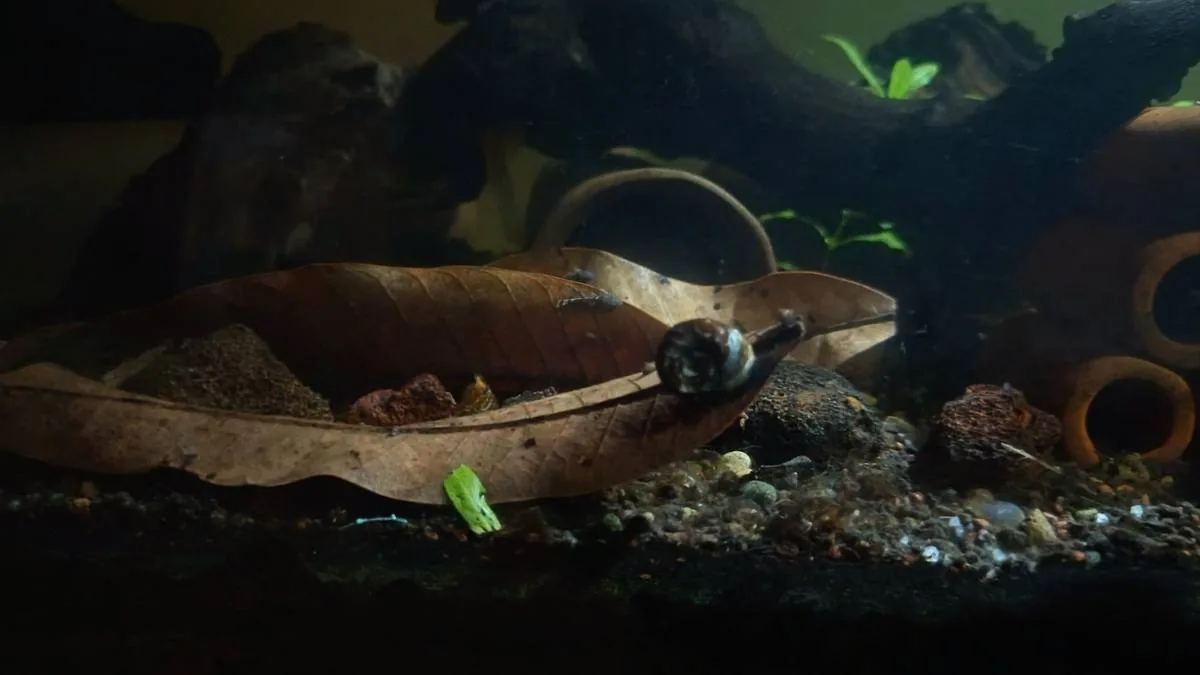
Ramshorn snail grazing on a mango leaf — snails break down organic matter and cycle nutrients
Leaf Litter: Mango and Indian Almond Leaves
Mango leaves and Indian almond leaves are a natural addition to a Walstad tank that many hobbyists overlook. They release tannins that soften water slightly and lower pH naturally, provide surface area for biofilm, and break down over time adding to the organic layer. BNs and shrimp both graze on decomposing leaves. They also create a natural, biotope-style aesthetic that makes the tank look genuinely alive rather than artificially planted.
Mango leaves on the substrate — natural tannin source, grazing surface, and aesthetic anchor
Cycling a Walstad Tank
Walstad tanks cycle differently from traditional inert-substrate setups. The organic soil creates an initial ammonia spike as it breaks down, which the established plants help absorb. A heavily planted Walstad tank often cycles faster than a comparable traditional setup — sometimes in as little as two weeks. Test water parameters in the first three weeks. Wait for zero ammonia and zero nitrite readings on two consecutive days before stocking fish.
Common Problems and How to Solve Them
An algae outbreak in the first 4 weeks is normal during the initial nutrient release from soil — add more fast-growing stem plants, reduce light to 6 hours, and let the tank balance. Cloudy water at setup is caused by soil particles escaping through the cap; let it settle for 48 hours without disturbing the substrate. Plants melting or yellowing early is transition stress — trim dead material, leave healthy roots in place, and let the plant re-establish. Hair algae taking over usually means too much light or too little plant mass; reduce the photoperiod and add fast-growing floaters.
The Walstad Bowl: A Perfect Starting Point
If you want to experience the Walstad Method before committing to a full aquarium, a Walstad bowl is the perfect entry point. A 10 to 20 litre glass bowl with the same two-layer substrate, planted with small plants like java moss or anubias nana petite, and stocked with a few shrimp or a single betta, demonstrates exactly how the method works at minimal cost. Bowls have less buffer when things go wrong but they are fast to set up, cheap to run, and teach the fundamentals clearly.